Mobile photography has been a staple of the mobile phone experience ever since smartphones became a reality and shook the market. Smartphones have more or less replaced traditional point-and-shoot cameras, and mobile manufacturers are continuing to improve their camera hardware and software every year.
In 2023, Samsung's Camera app suite consists of more than one app. The company released complementary apps like Camera Assistant and Enhance-X to expand mobile photography on Galaxy devices, and even the Gallery app plays a role in improving the user experience.
But the core of it all is the default Camera app, which makes pointing and shooting photos and videos on Galaxy devices possible and even easy. We'll talk about some of the more advanced Camera features throughout the week, but for now, here's a general overview of the Samsung Camera app for anyone who might be unfamiliar with it.
Samsung Camera overview
The Samsung Camera app on Galaxy devices allows users to take photos and record videos in a wide variety of ways. Available options and settings can differ depending on the hardware capabilities of each Galaxy model, but, in essence, the app lets you capture moments in time in different ways and formats. And it's a lot simpler than it sounds.
Story continues after the video
NOTE: The information in this article is based on the Camera app for the Galaxy S22+ running One UI 6.0.
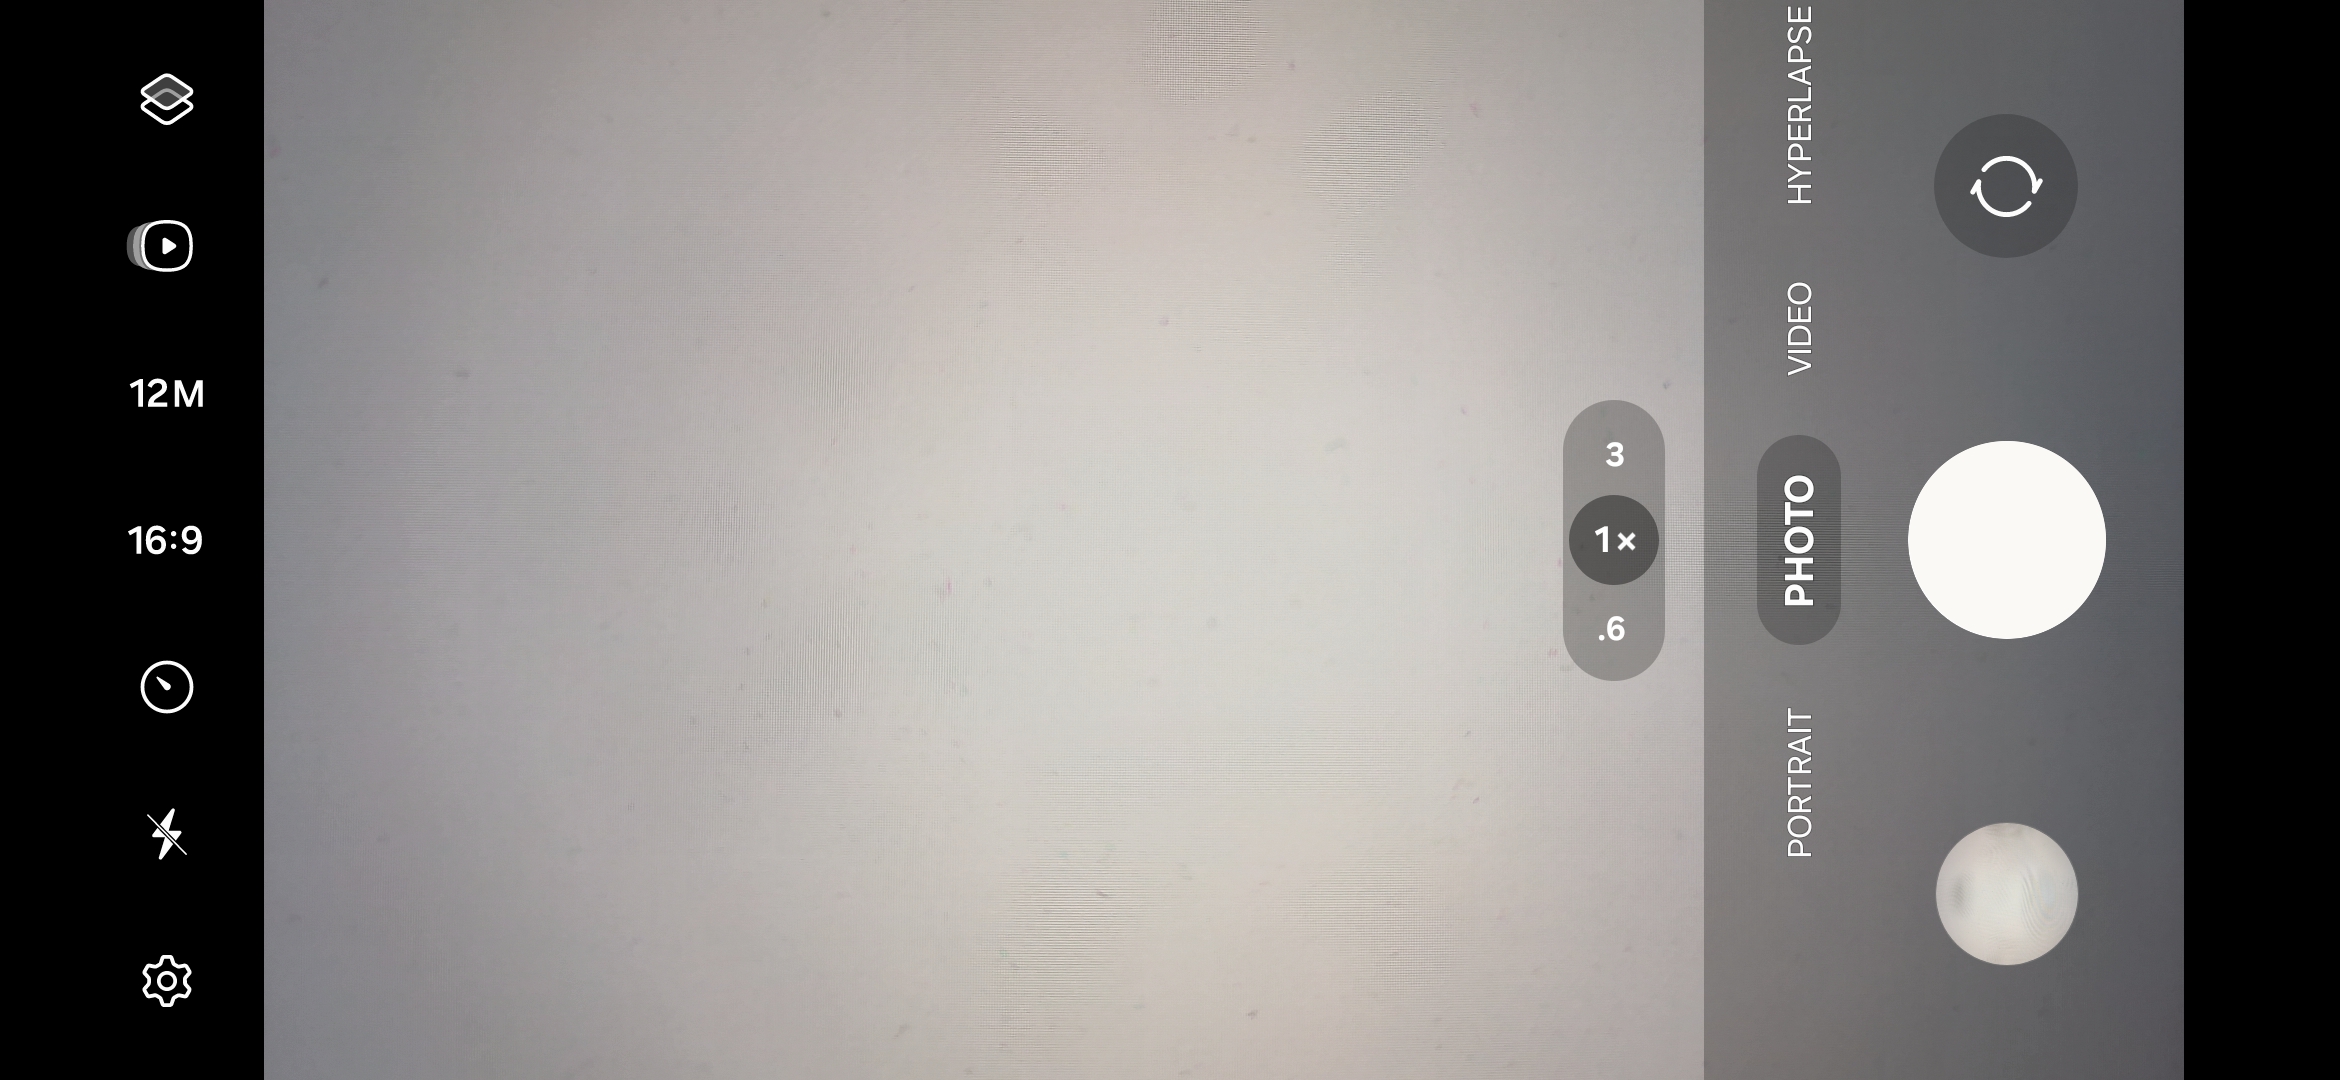
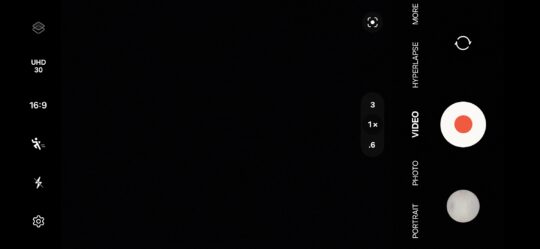
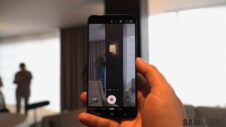
The most important aspect of using the Camera app is understanding the viewfinder UI. The Camera app viewfinder consists of a few areas.
The rightmost area (or lowermost in portrait view) holds the shutter/record button, which makes everything possible. Point at a subject, tap this button, and you'll capture a photo or record a video in no time.
There's also a shortcut to your most recent photo or video, and a button to switch between the front and rear-facing cameras on your phone.
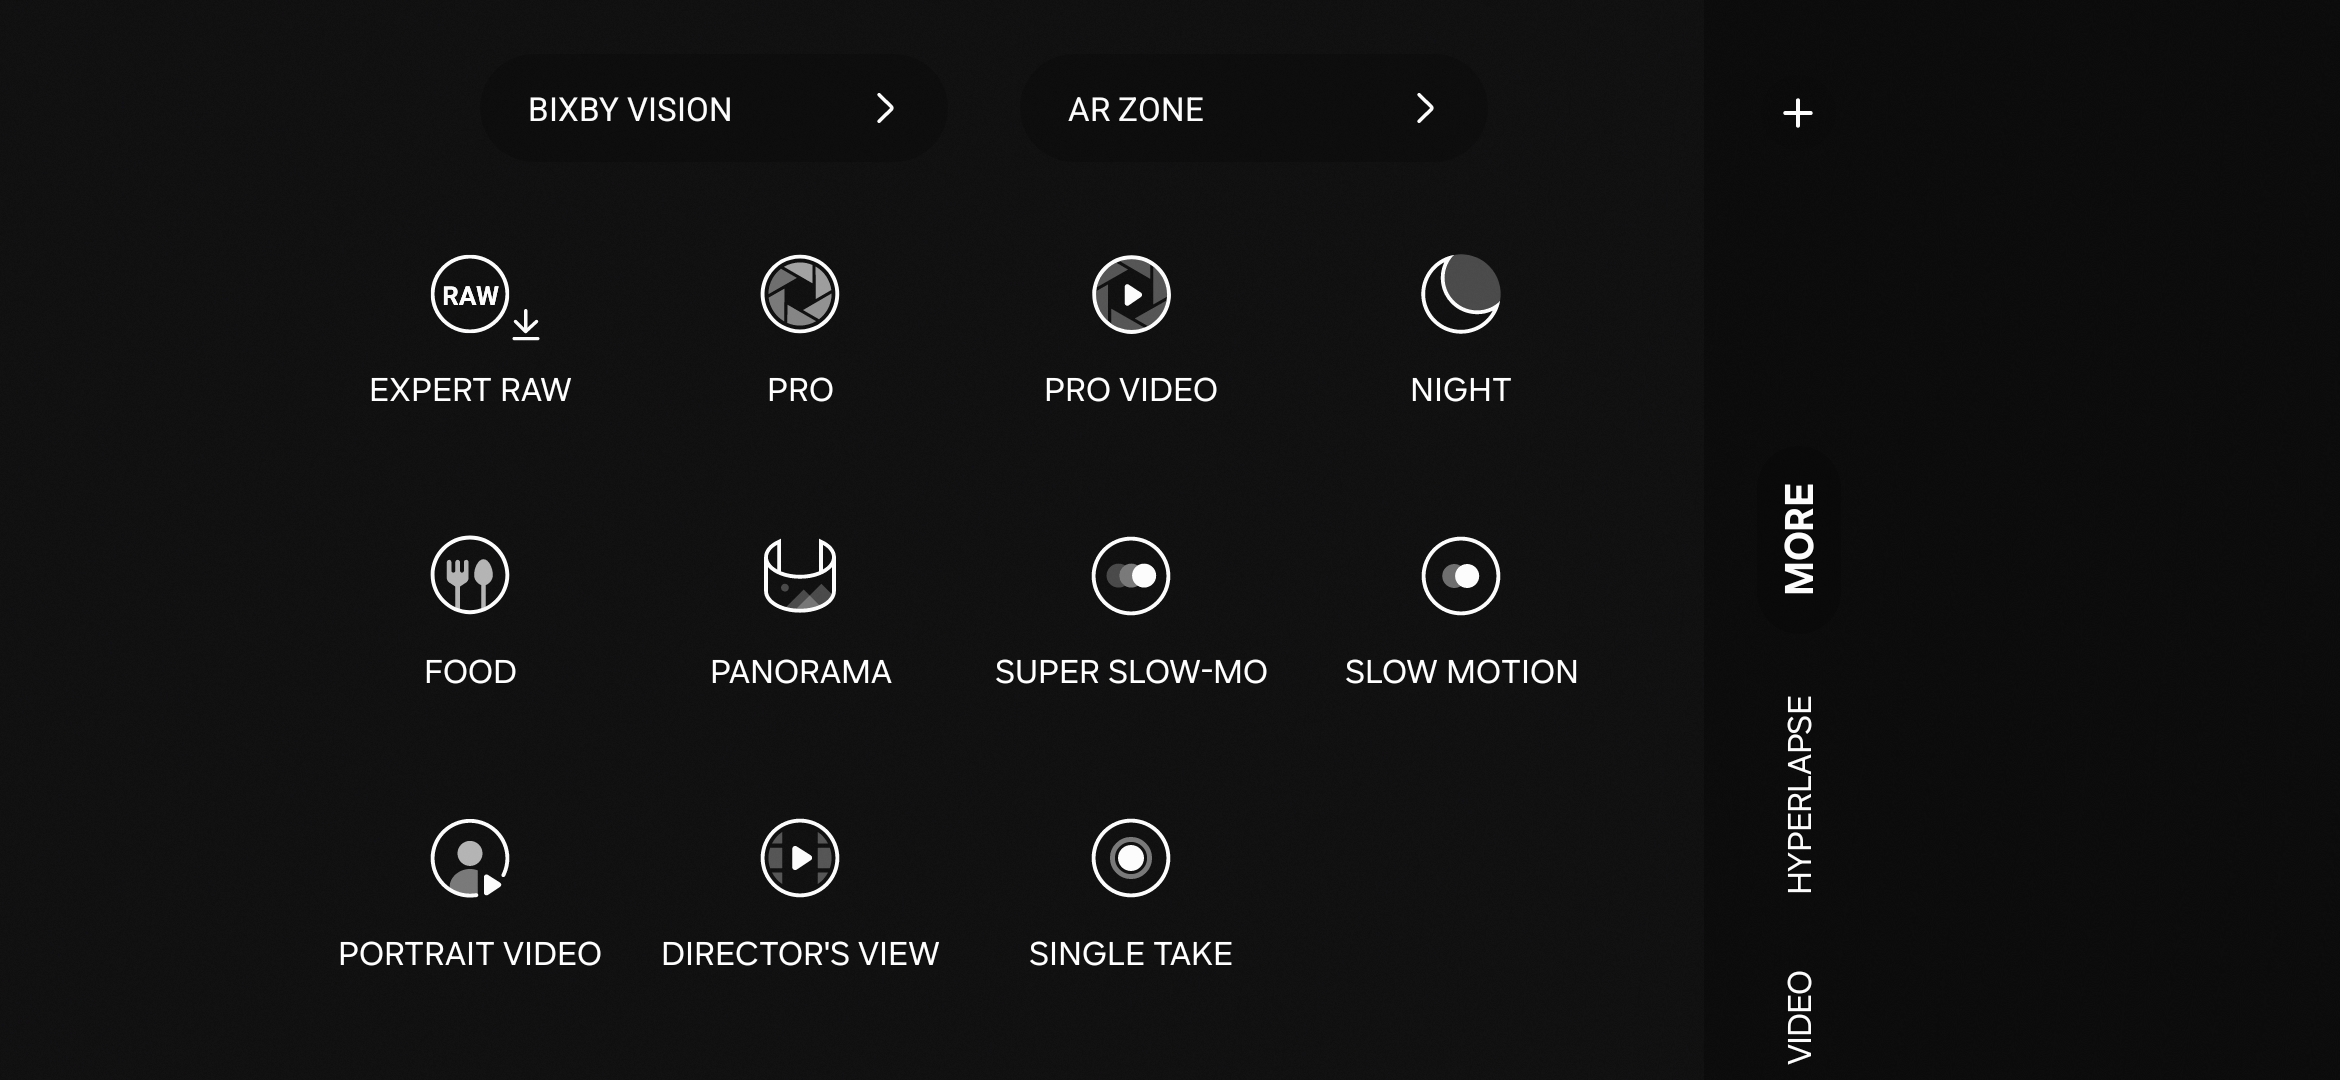
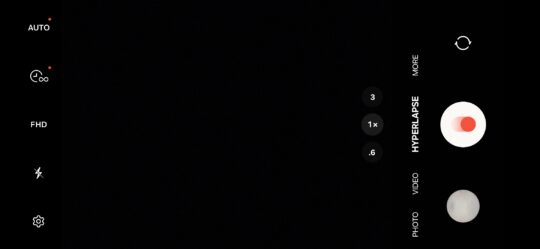
To the left of the shutter button is a row of text containing different shooting modes. From here, you can choose to capture photos or videos using modes such as: Portrait, Photo, Video, Hyperlapse, and more.
This menu can be customized, and additional modes can be added, including Pro Mode, Pro Video, Panorama, Super Slow-Mo and Slow Motion etc.
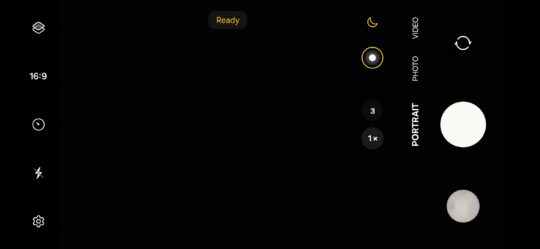
Next, users have access to zoom controls (depending on which sensor they're using). Alongside zoom controls, you'll see one or two buttons that change (or appear and disappear) depending on shooting modes and the subject you're trying to photograph or record. For example:
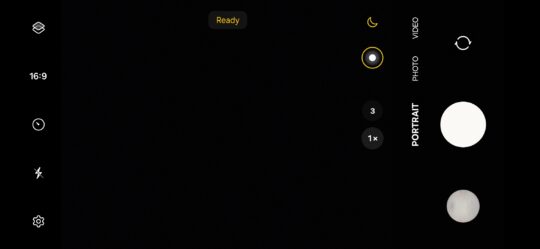
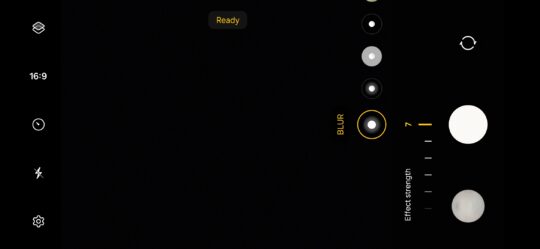
- Using Portrait mode reveals a button for blur controls.
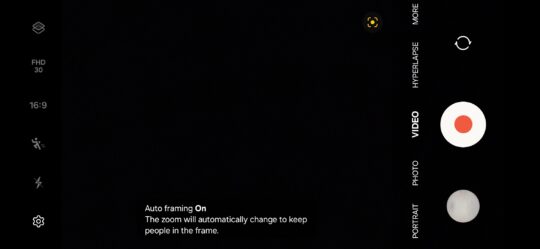
- Selecting Video mode reveals an option for Auto Framing.
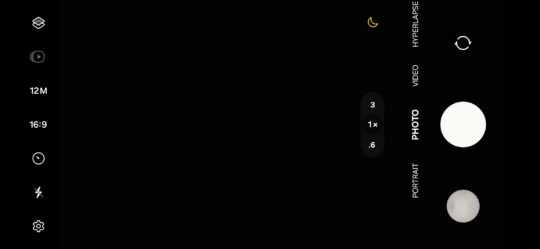
- Using the viewfinder in low-light conditions makes an ON/OFF switch for Night Mode pop up.
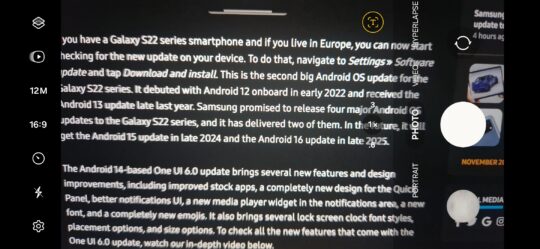
- Pointing the camera at text lets you use the text scanner-extractor, and so on. Keep an eye on this ever-changing area whenever you're taking photos or recording videos.
Last but not least, the leftmost area (uppermost in portrait orientation) contains a row of buttons for different settings, such as image and video resolution, flash controls, shutter button timers, Motion Video, Filters, Super Steady, Hyperlapse, and more.
You'll notice that this area is also changing depending on the mode you've selected. To keep things simple, this area only shows additional settings that are relevant to the selected shooting option.
This is all you need to start capturing photos and videos with your Galaxy phone. The default Camera app viewfinder is straightforward for a reason, and you should feel free to experiment with the available options and buttons.
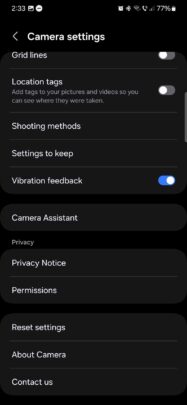
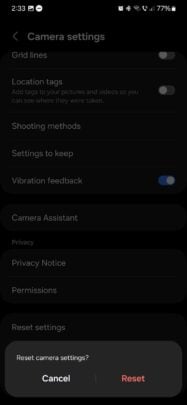
And you don't need to worry about messing up some Camera app settings, as you can always restore the default configuration. Just tap the cogwheel icon in the lower-left corner of the viewfinder (upper-left corner in portrait orientation), scroll down, tap “Reset settings,” and tap “Reset” again to confirm.
Many more advanced settings and features await those who want to dive deeper into the Camera experience, and we'll talk more about them throughout the week. Stay tuned.
