We started the Samsung SmartThings Week at SamMobile with an introduction to the mobile app and explored its primary features and capabilities. Now it's time to start setting up your smart home.
For the second part of this series, we're taking a closer look at how you can manage your smart home devices and organize your rooms through the Samsung SmartThings app.
Story continues after the video
Manage SmartThings devices, locations, and rooms
Setting up a smart home or space always starts with choosing your location and room for your new device. Say you bought your first smart home device and want to manage it through the SmartThings app. Here's all you need to know.
First things first, SmartThings lets you set up and categorize devices by different locations and spaces. The default location is called “My home,” but you can add more, each with its own device lists and rooms.
To do this, open the SmartThings app, access the “Devices” tab at the bottom, tap the “My home” drop-down menu at the top, and tap “Manage locations.” Here you can choose to accept a QR code invitation for the current location, edit the default My home location (by tapping it), or create a new location by tapping the + button.
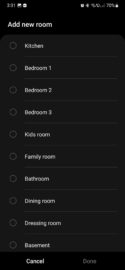
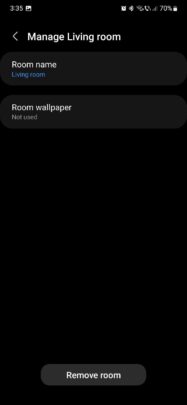
Next up, you can divide each location by rooms/spaces. The default ones are “Living room” and “Personal devices.” The latter option includes all your personal non-IoT devices, such as Galaxy smartwatches and earbuds.
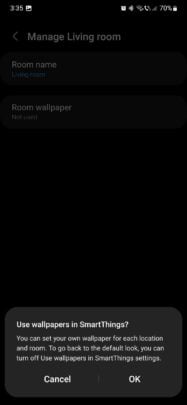
You can expand the list and tap “Manage rooms” to edit existing ones or create new spaces. As a bonus, you can assign individual wallpapers to each room.
Adding and managing smart home devices through SmartThings
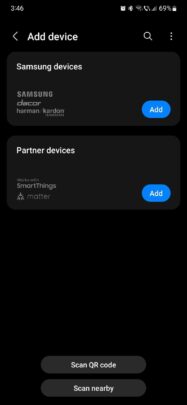
Now that you've set up your smart location and rooms, you can start adding and managing devices. Choose your location and room in the “Devices” tab, then tap the + button in the upper-right corner.
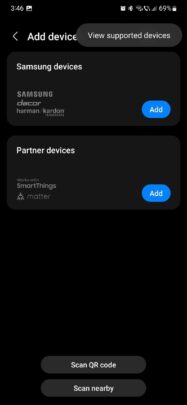
Here you have the option to add devices by scanning nearby, using QR codes, or by manually adding Samsung or Partner products. If in doubt, you can always tap the three-dot button in the upper-right corner and view a list of supported devices.
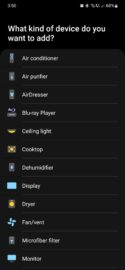
If you want to add a Samsung device, select the option, choose a device category, and scan the QR code on the device or use the “scan nearby” option to add it to your smart home network.
If you're trying to add a partner device, it's usually done by selecting a partner from the list and linking the account associated with that product and SmartThings.
This is all you need to know to start setting up your smart home. Join us tomorrow for another deep dive into the Samsung SmartThings app.
Image credit: Samsung